How I Built This Blog - 11ty, Tailwind, Cloudflare Pages
Wed Jul 30 2025Engineers build and deploy services for clients every day, but many engineers never build something for themselves. Even, as simple as a blog. I understand that blogging is not for everyone, but for many people, including myself, it's just perfectionism that got in the way of even starting.
Here is what often happens when I feel the urge to build anything:
- I'll scaffold a Next.js project together with configuring Shadcn components, and Tailwind.
- I'll consider the possibility that the blog posts would reach thousands of posts so I decided I would need a database. MySQL or Postgres? Self-host or managed?
- I'll consider how scalable the blog should be. Then I thought it's probably safer to have multiple instances for fault-tolerance. Then I configure my blog to run on Docker Stack.
Without realizing it, I spend so much time without writing a single blog post.
After I convinced myself that I won't need a database for my blog, the choices become easy:
- Just use static HTML, which we can deploy to any static page hosting, often for free. In this case, I like Cloudflare Pages because that's where I get my domains. They also have useful features too, like automatically encrypting email in mailto links from bots.
- For better ergonomics, we will choose a Jamstack framework. In my case, I like to work with Eleventy (shortened to 11ty), with Tailwind for styling.
Now that I don't have a database, I write all my posts in HTML:
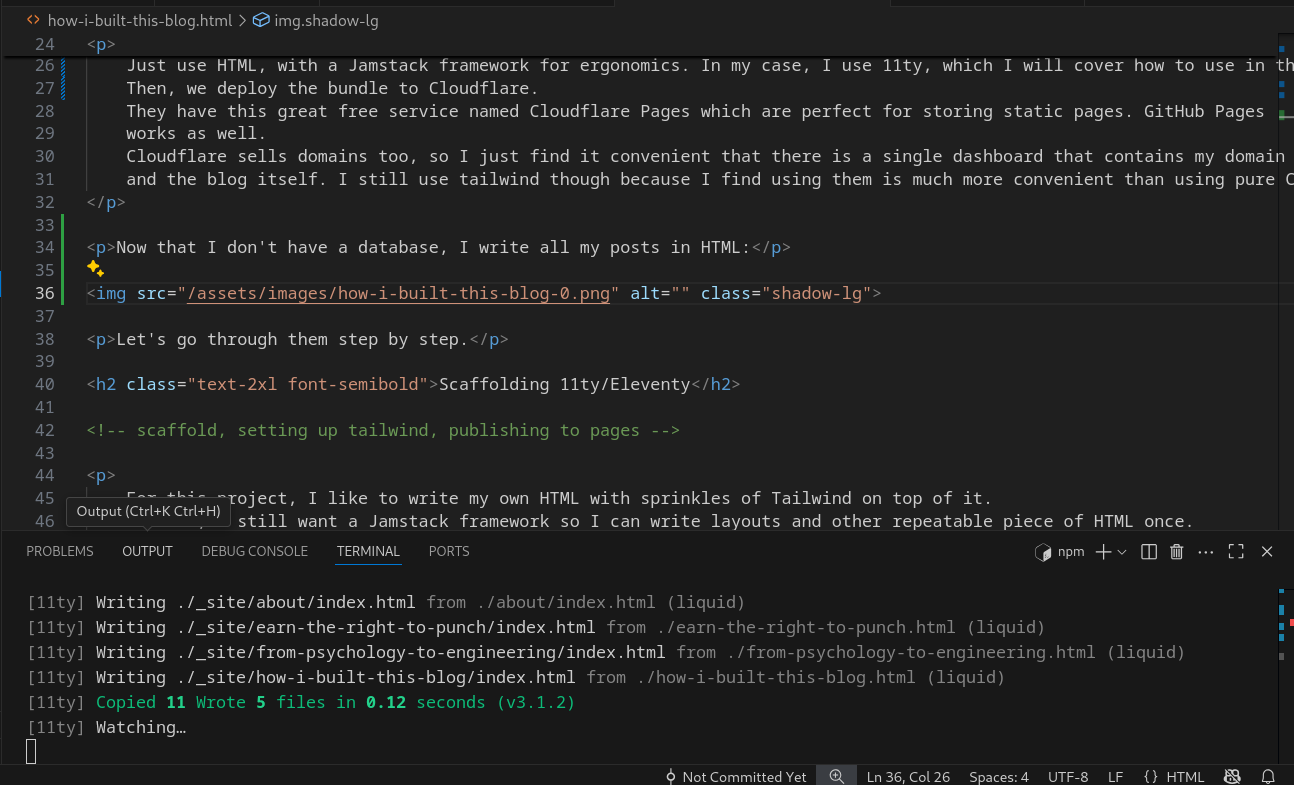
It may look uncommon, but for someone who works with IDE all the time, this just feels natural. It even sparks creativity and brings more joy in my opinion.
Let's go through them step by step.
Scaffolding 11ty/Eleventy
For this project, I like to write my own HTML with sprinkles of Tailwind on top of it. However, I still want a Jamstack framework so I can write layouts and other repeatable piece of HTML once. 11ty works exactly for that purpose. There is just no need for a more powerful frameworks here.
So open a folder and scaffold our 11ty project:
npm init -y && npx @11ty/eleventy --serve
Here, npm init -y initializes the npm project in the current folder, so you can install npm packages.
Then, npx @11ty/eleventy --serve installs Eleventy if it does not exist (you will be asked for permission for this), and converts MD, HTML or other pages to an output, by default to a folder called _site.
Run above code, and you will have:
    [11ty] Wrote 0 files in 0.07 seconds (v3.1.2)
    [11ty] Watching…
    [11ty] Server at http://localhost:8080/
Congratulations! now you have your own 11ty project. As written in your terminal, you can visit them in http://localhost:8080/. If that is occupied, port 8080 will become 8081, like in my case.
However, you don't have any pages written yet, so visiting it will return an error page.
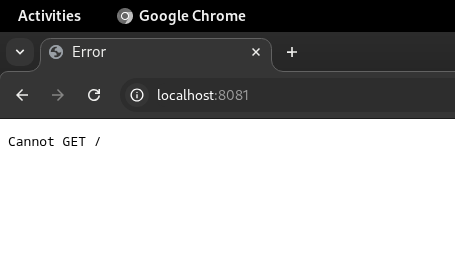
So let's create our first page. It does not have to be a full blog post yet, just to confirm everything works.
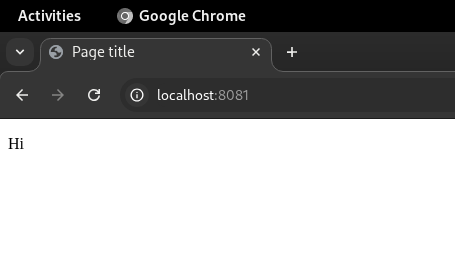
echo '<!doctype html><title>Page title</title><p>Hi</p>' > index.html
I straight up stole this from Eleventy's getting started guide.
This will put some HTML chunk into the will-be-created index.html page. After doing that, we finally got rid of the error page:
Routing in 11ty
11ty uses file-based routing and uses three simple rules:
- If you write
index.htmlin the/directory, the file will be served fromlocalhost:8080/ - If you write
index.htmlin the/seconddirectory, the file will be served fromlocalhost:8080/second - If you write
second.htmlin the/directory, the file will be served fromlocalhost:8080/second
Basically, write index.html for the main page, then use an url-safe filename for each blogposts or subdirectories.
Use a folder only if you have multiple files you want to serve from a subdirectory.
Setting up Tailwind
I use Tailwind because I find their css suite convenient to use. Some don't like it because it can be verbose, but it offers lower level of coupling compared to say, Bootstrap.
Let's install Tailwind:
npm install tailwindcss @tailwindcss/cli
Like what you might stumble upon in Tailwind docs, there are multiple ways of installing Tailwind, and some are more tightly integrated to other frameworks.
If you don't use Vite or PostCSS, the best way to install it is to install the CLI.
This means that you will run Tailwind through a CLI, as opposed to through PostCSS or Vite. Tailwind then scans the folder and spits out
Some parts of Tailwind will need to be customized, like what folder do you scan the HTML from, any additional configuration for HTML class tags and so on. This is why we "run" Tailwind. Tailwind, when running, will scan the input css file together and spits only the needed classes instead of the whole tailwind class, reducing the css bundle size. The bundled css file is what we need to put in the _site folder.
So let's create the input css file in /assets/css/input.css and run tailwind:
    echo '@import "tailwindcss";' > /assets/css/input.css
    npx @tailwindcss/cli -i ./assets/css/input.css -o ./assets/css/bundle.css --watch
Remember that the input.css is not an actual css, it needs to be preprocessed into css output bundle before we can use it.
So, we don't need to copy input.css to our bundle.
Here, I name the output bundle as bundle.css. We need to only copy bundle.css to our output folder and then reference it in the head as our css stylesheet.
11ty does not copy css files to output folder automatically, so we need to configure it to do so. Write this into .eleventy.js:
    module.exports = async function(eleventyConfig) {
        eleventyConfig.addPassthroughCopy("assets/css/bundle.css");
    };
When you confirm that bundle.css is in the _site bundle, refer the assets as the CSS stylesheets in our html head:
<link href="/assets/css/bundle.css" rel="stylesheet">
Visit localhost:8080 to confirm if the styling been applied.
Deploying Our Project
I use Cloudflare Pages to deploy my blog because I find it convenient. It is completely free, deployed globally, and comes with a lot of features that I do not have to rebuild from scratch. For example, Cloudflare Domains and AI bot block.
All we need to do is just have our output (named _site in my case) folder uploaded to Cloudflare Pages. Then, when I write a new blog post, I rebuild and redeploy the output folder.
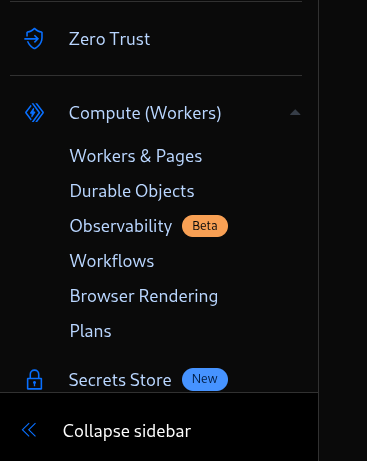
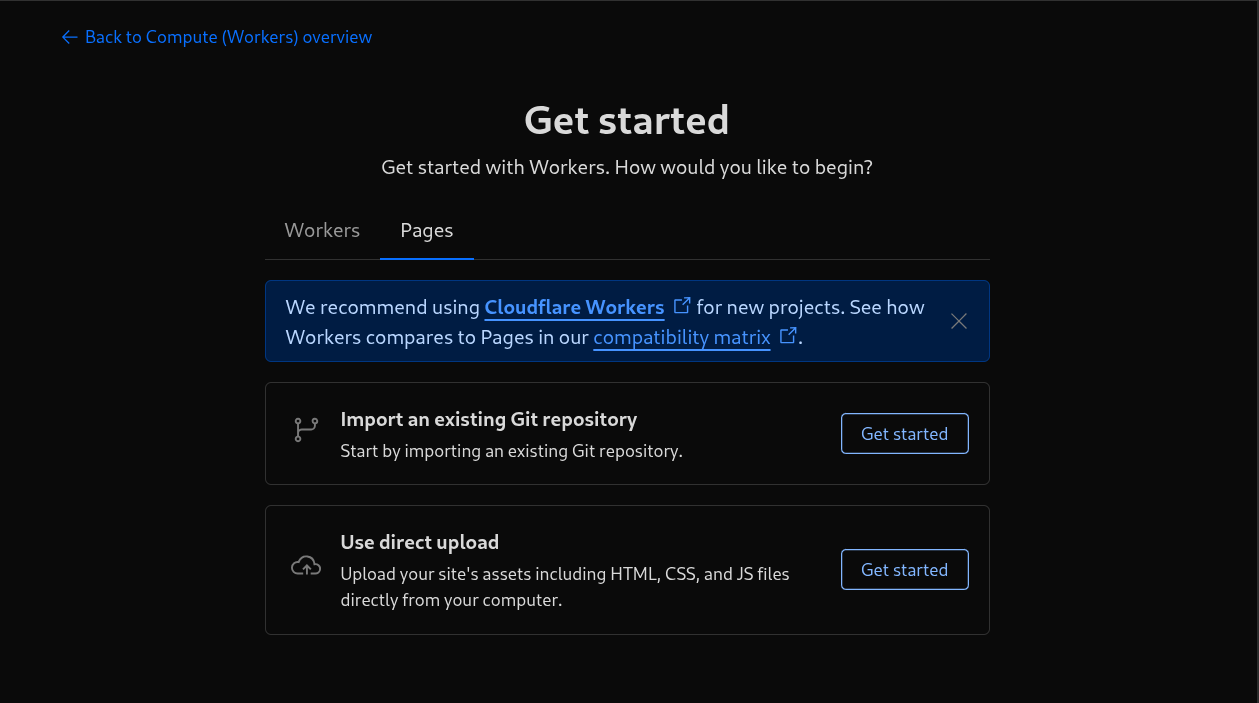
To start, sign up for Cloudflare, Go to the dashboard, Find "Compute (Workers)" in the sidebar, then click "Workers and Pages". (Despite categorized under "Compute", Cloudflare Pages won't eat your Workers quota)
After clicking that, you will be shown the page for Cloudflare Workers and Pages. Select the "Pages" tab, then "Use direct upload". You can also use direct Git integration if you so wish.
Then, you will be prompted to enter the name for your project:
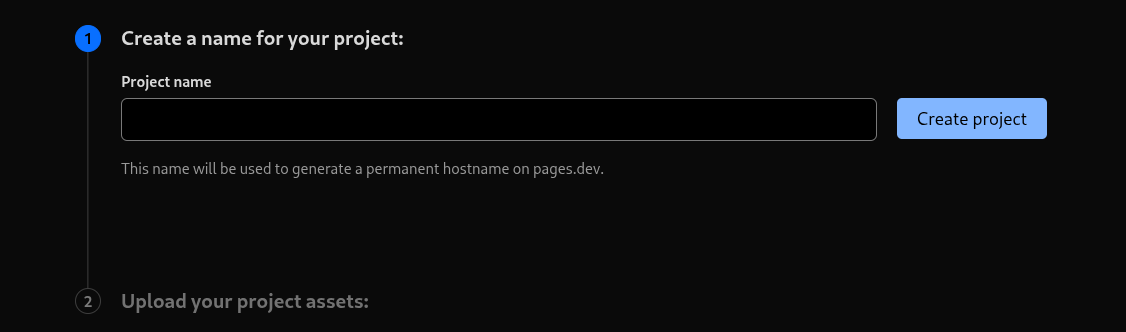
Then you can upload your upload folder:

I choose "Upload folder", then choose the whole _site folder on the file picker.
Congratulations, your project is now live. Visit the provided link to view it live.
Because this blog isn't mission critical, We will not need a CI pipeline for this deployment. If you choose so, you may refer to the Cloudflare Pages Docs.
What's Next?
Now that you have your own lightweight, static blog, start to fill it with some thoughts! I`m very proud of this blog. I finally have something I can call my own, and it makes me feel extremely excited to work with it. Furthermore, this static blog also gives me freedom. There is a sense of peace in knowing that there are no databases or servers to watch, nor any bills to pay - just domain fees. Now I can enjoy writing as well as it should.
I hope it brings joy to you as much as I do. Cheers!